1/20/2011

Tad bit Leather, pinch of Romance

Well a bit more diy - this time I took a ride on the internet and found tons of fun thing that I've put on my list of projects...
The first of which some fun tiny leather books jewelry... (I made a few leather broaches too..)


So lets get to it!

What you will need:
  • a length of chain 
  • earring hooks
  • different colors of leather ( you only need scraps as the books are tiny) 
  • paper
  • felt
  •  scissors, pliers(?), and a hot - glue gun 
Here is a picture guide -


    And some close ups


    If you have any questions don't hesitate to ask....
    Good  Luck!


    1/16/2011

    light switch...

    Its always the wrong  light switch...
    I can never get it right I've lived in this place since forever, and yet I always pick the wrong one of the two...
    yeah, I'm pretty much going insane, some would argue that the term 'going insane' is so pasé in regards to me. They are pretty sure that I've long since arrived at my destination...
    But hey, its not so bad, at least I know where I'm at.
    always at the corner, at the light switch, and alwais wondering why the light is on in the hallway and not on the stairs...

    Some fun earings...

     These I made out of one of those old commie mugs...hammer + mug = fun
     cupcakes...
     I saw these all over the net, naturally I had to make a pair of my own.
     I love these because the freek the hell out of people...

    1/07/2011

    Some good old DIY - a vintage hat

    I've been doing a lot of thinking lately, and it occurred  to me that I should take a little break and use my hands for a change...

    So round up ladies and gentleman!!!

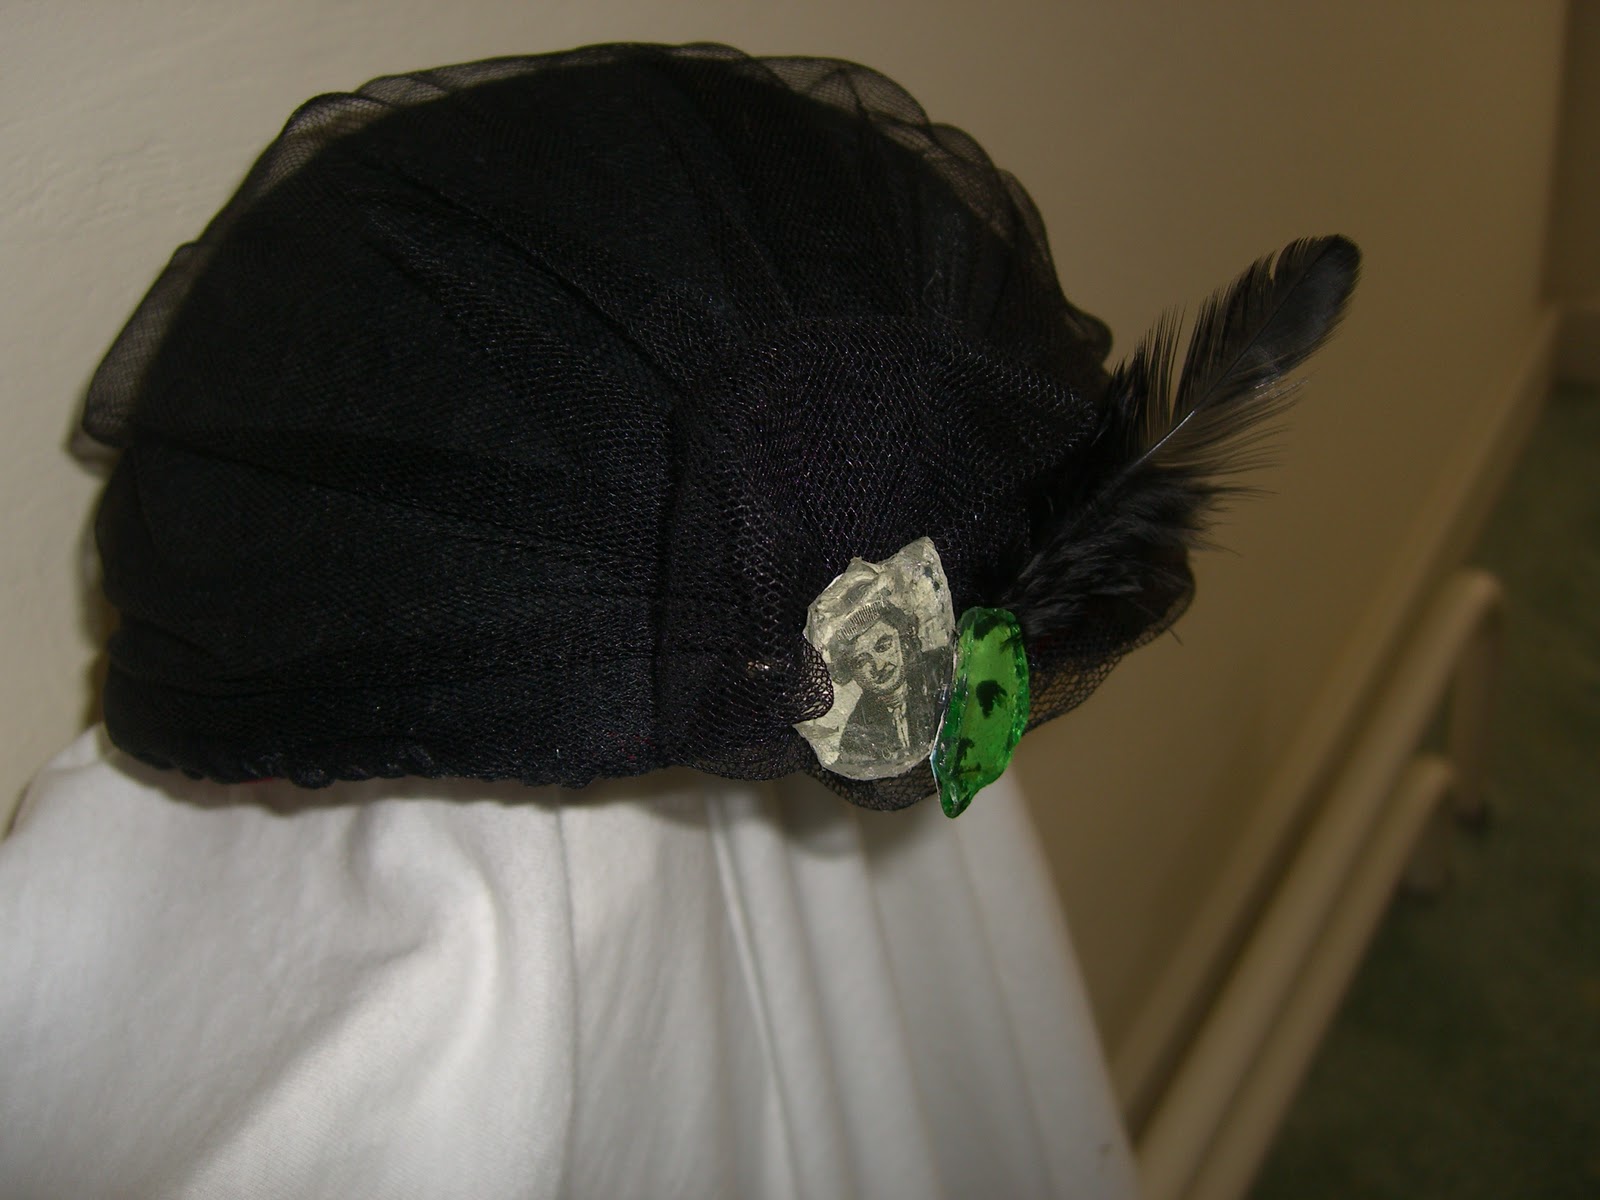
    What you have just seen was my completely unauthentic ladies vintage hat. One head at a time!

    As for the makings, here is a list:
    • your most basic sowing kit (needle and thread) 
    • 1 wire hanger 
    • 0.5m*0.5m of easily bended, coated wire netting
    • 0.5m*0.5m of some thin elastic fabric (I used cotton)
    • few cotton balls to make the edges soft 
    • felt, ribbons mesh, tulle, broaches, buttons, rings....etc for decorations
    And now the instructions,in which I"ll show you how to make the skeleton for your hat...
    Take your hanger, unwind it and straighten it out, than wrap it around your head, this should make an oval or a circle (depending on your head shape). Before closing the circle add about two to three centimeters to the circumference.
     
    Take your netting and shape it around your head, than take the wire circle you just made and place it on top of the netting, bend the edges over and cut of the excess netting that is not needed to hold the wire circle in place.
    Once you have done this, coat the edge with some cotton, but be careful not to over do it.
    Than take your stretchy fabric and sow it to the wire structure.
    And now you can let your imagination flow....
    I covered mine in black felt and than some tulle, last but not least I added a broach of glass..
    Good luck!